Step 3: Adding the Shapes
About Shapes and Stencils
The Stencil is displayed on the left-hand side of the Visio window. If it is not present, in Visio 2016 click on View > Task Panes > Shapes.
Each stencil contains shapes for workflow or other drawing purposes. If it is not currently displayed, click on the Triaster stencil. This contains all the shapes you will need to create a Triaster process map.
Add the Deliverables
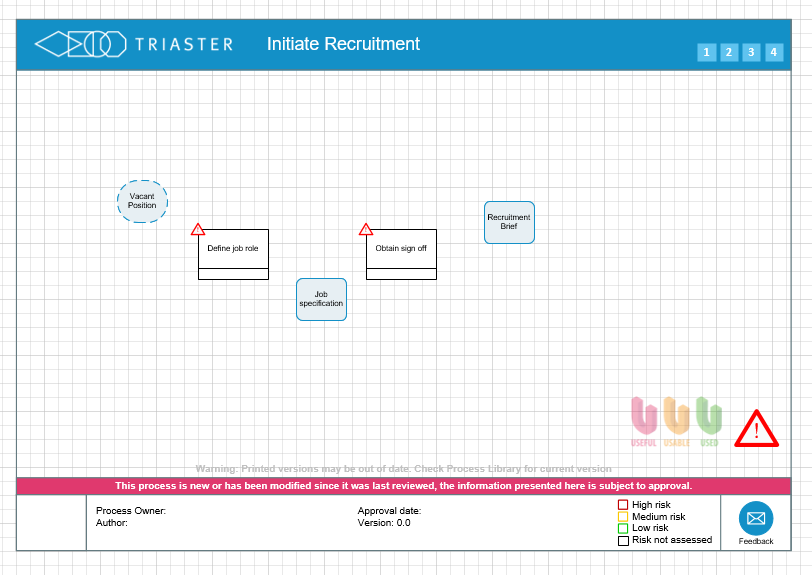
Deliverables are often referred to as inputs and outputs. These are produced as a result of an Activity or are required for an Activity to be performed. Best described using a noun, these may be documents or objectives. You are aiming to produce a map with three Deliverables (shown with a cyan background to distinguish Deliverables from Activities):
- Vacant position
Our starting point, which results from an Activity outside the scope of this map. It is therefore termed an external Deliverable. - Job specification
A Deliverable within the scope of the process resulting from the Activity of defining the job role. - Recruitment brief
A Deliverable within the scope of the process resulting from the Activity of obtaining sign off.
Note how the Deliverables are all described using nouns, "Vacant position", "Job specification".
To add the shapes:
- Drag an External Deliverable shape from the stencil and drop it onto the drawing page within the Node. You do not need to worry about positioning at this stage.
Process Navigator has powerful tools to assist you with the map layout.
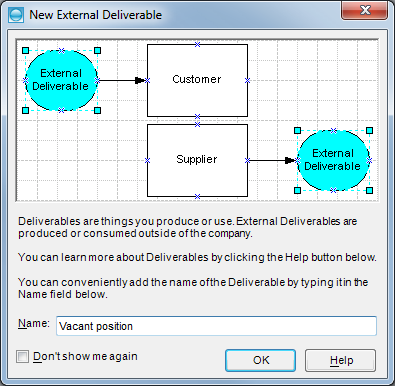
The New External Deliverable dialog box is displayed. - Type "Vacant position" into the Name box and click on the OK button.
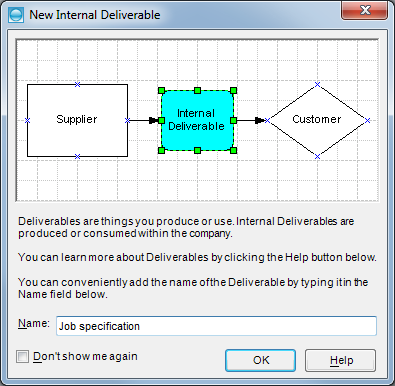
- Drag a Deliverable shape from the Stencil and drop it onto the drawing page within the Node. The New Internal Deliverable dialog box is displayed.
- Type "Job specification" into the Name box and click on the OK button.
- Drag a second Deliverable shape from the Stencil and drop it onto the drawing page within the Node. The New Internal Deliverable dialog box is displayed again.
- Type "Recruitment brief" into the Name box and click on the OK button.
TIP: you can turn off the tip windows by selecting Donít show me again or changing the options by right-clicking the drawing page and selection Options > Tip Windows.
Your map should now look like this:
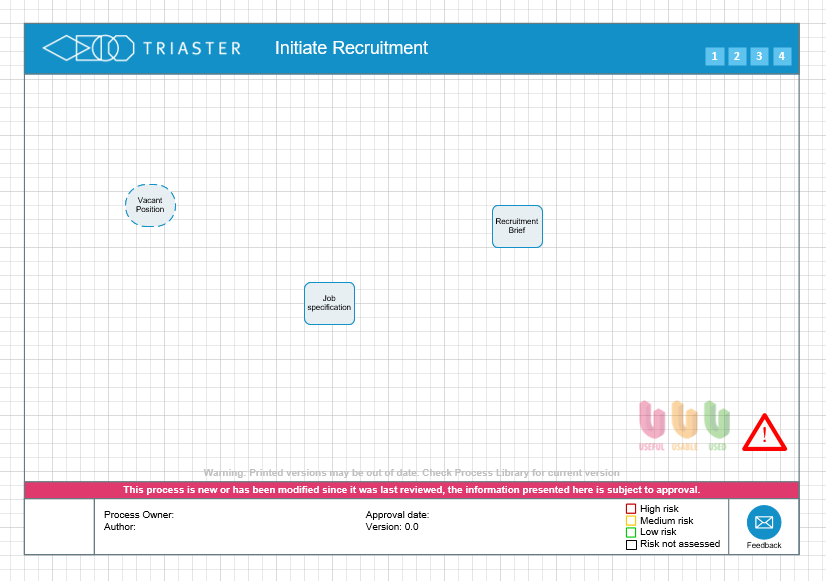
NOTE: We have made the boxes and text larger for clarity. If you wish, you can do the same by dragging the handles at the corners of each shape and by editing the text of a selected shape on the Visio Home toolbar.
Add the Activities
Activities are actions and can always be described using a verb. In our simple map, there are two actions:
- Define job role
Acknowledging the vacant position (an external Deliverable), there is a need to produce a job specification (the first internal Deliverable in the map). - Obtain sign off
Assessing and approving the job specification (the first internal Deliverable in our map) to produce the recruitment brief (the second internal Deliverable in the map).
To add the shapes:
- Drag an Activity shape from the Stencil and drop it onto the drawing page within the Node somewhere between the Vacant position and Job specification Deliverables. Again, the exact positioning is not important at this stage.
The New Activity dialog box is displayed. - Type "Define job role" into the Name box and click on the OK button.
- Drag another Activity shape from the stencil and drop it onto the drawing page within the Node somewhere between the Job specification and Recruitment brief Deliverables.
The New Activity dialog box is displayed. - Type "Obtain sign off" into the Name box and click on the OK button.
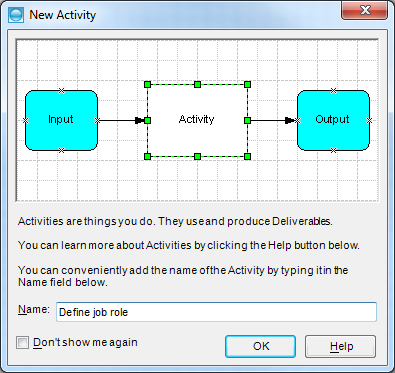
Your map should look like this:
Editing the text of a Shape
You can edit the text labels on shapes directly by overtyping the contents to replace them or press F2 (to edit text). To finish editing text, click away from the shape, onto a different shape or on the drawing page. Do not press the Enter key; this will add a new line to the text label.
Moving a Shape
Simply drag the shape to a new location.
Copying a Shape
Hold down the CTRL key and drag the shape with the left mouse button, or press the CTRL key and D (for duplicate).